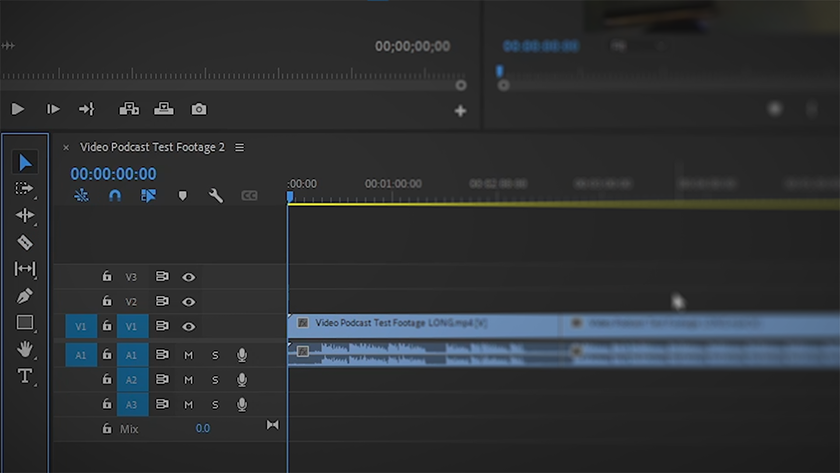
Timeline Editing Tools in Adobe Premiere Pro
Text and video by Jonathan Famiglietti, Student Multimedia Design Center
Upon first inspection of the timeline in Adobe Premiere Pro, it may seem daunting how many different tools are on the sidebar. Fortunately, you only need to use a few of these tools to get the most out of the software.
The video below focuses on a handful of tools that allow you to cut, reorder and add text to your footage while editing inside Adobe Premiere Pro, including the Selection Tool, Razor Tool and Type Tool. You will learn how to find and use these tools in the context of editing a video podcast.
If you’re interested in recording and editing your own video podcast or related coursework, stop by the Student Multimedia Design Center in Morris Library where you can book time in our studio spaces to record and edit your projects.
This video is part of the weekly series “Multimedia Tips and Tricks,” which shares content in response to frequently asked questions from the Student Multimedia Design Center. We’d love to hear from you. Please share your feedback with us by filling out our survey.
