Recording Podcasts with Audacity: Post-Production Filters and Effects
Text and video by Ellie Parcells, Education Resource Center and Student Multimedia Design Center
If you’re interested in making a podcast but are feeling overwhelmed with questions like “what audio software should I use?” and “how do I edit my recordings to make a well-polished finished product,” don’t worry. The Student Multimedia Design Center (SMDC) is here to help.
The SMDC offers professional microphones available for loan, quiet recording studios and a wide range of audio editing software to suit any skill level. One such program is Audacity, a multifaceted and easy-to-use audio editing program.
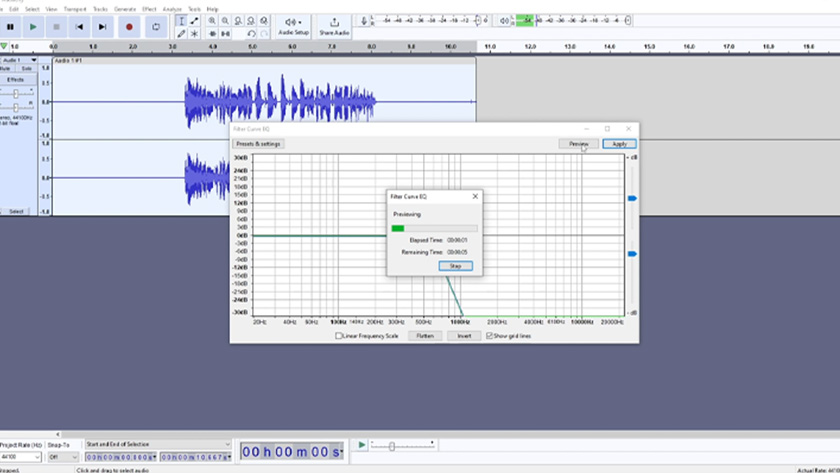
In the video below, the last in a two-part installment, you will learn how to improve the quality and clarity of your voice recordings through post-processing filters and effects, including noise reduction, compression and equalization of your voice audio.
For more insights on how to record a professional-sounding podcast, check out part one to explore how to set up your microphone and the basics of recording with Audacity.
You can download Audacity on your own computer or drop by the SMDC in Morris Library to use a computer station where the program is already installed. If you have questions as you go, feel free to ask the trained staff in the SMDC for assistance.
This article is part of the weekly series “Multimedia Tips and Tricks,” which shares content in response to frequently asked questions at the Student Multimedia Design Center. We’d love to hear from you. Please share your feedback with us by filling out our survey.
